Feudal and Dark Ages in BHGS Challenge 2015
Feudal German vs Samurai
Game 1 Feudal German vs Samurai
Game 2 Feudal German vs Feudal Irish
Game 3 Feudal German vs Later Crusader
Game 4 Feudal German vs Feudal English
Game 5 Feudal German vs Vikings
The BHGS Challenge - my first ever "proper" ADLG competition, and the first 2-day event ever held in the UK to feature more UK players than French ones. This brave new experimental form of "its kinda like DBM but with a stripey jumper and a beret" wargames rules had tempted some of my little-used figures out of retirement, and also invigorated me to rebase some pikemen onto a 40x40 base as well.
Read my rambing thoughts on ADLG, and the current fragmentation of the UK Ancients competition scene here on my blog and post your comments, or join in the debate over on TMP
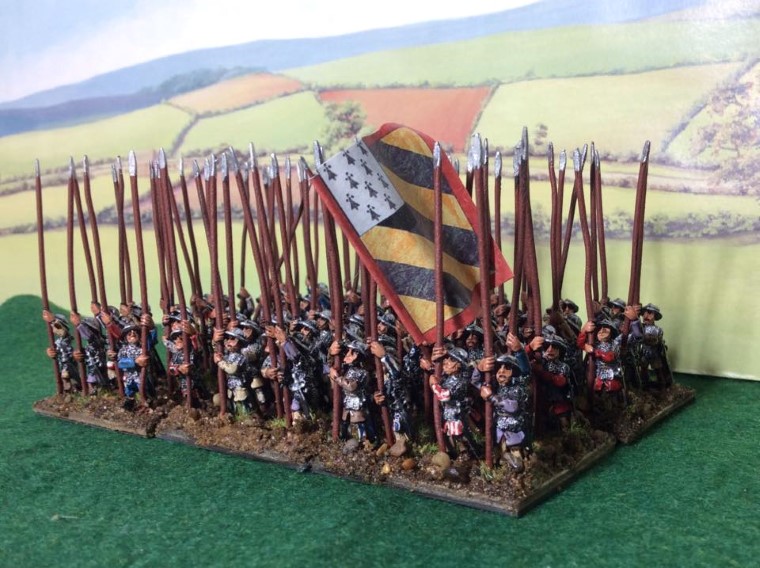
Having tried a couple of highly unsuccessful practice games I had eventually tweaked my Early Medieval (Feudal) German with Viing Allies army into something I believed was approaching semi-competence, and so with some trepidation I joined the field of 9 brave other souls and rocked up at Oxford Brookes University for my first BHGS Challenge in many years. . The lists for the Feudal German and Samurai from this game, as well as all the other lists from the games at BHGS Challenge can be seen here in the L'Art de la Guerre Wiki.
The competition was themed by 2 of the periods in the ADLG army lists, Dark Ages and Feudal. This could have seen lots of Arabic cavalry armies, but presumably playing safe, many people had gone European and brought lumpy big slabs of spearmen and some knights. At 300 points the armies certainly started to fill the table
Pictures of Samurai Troops from my Ancients Photo Directory
My first opponent was one of the 2 visiting French players, using a samurai army - potentially tricky, both on the basis that he would actually know the rules and I really didn't, and also as Samurai tend to be very good under many rulesets.
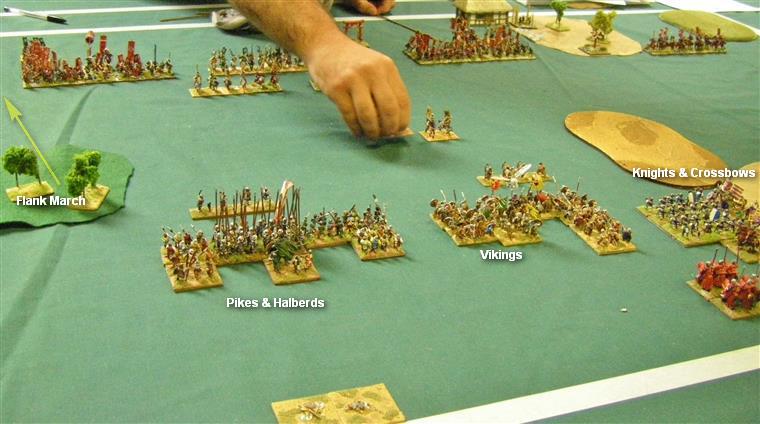
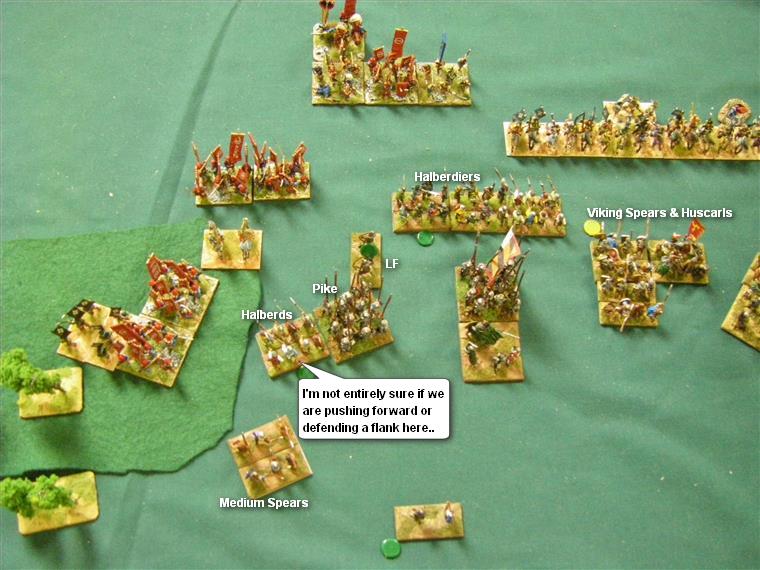
The terrain fell typically, an open space in the middle and some rough or tree-encrusted pieces on either side. This was fairly handy for my linear army, allowing me to shove some spears and pikes and halberdiers down the middle, and occupy the uneven ground to my right with medium spearmen and crossbows. With such a small gap to use I had also elected to send some knights and cavalry on a flank march - after all, coming on on a 5 or 6 was pretty good odds.
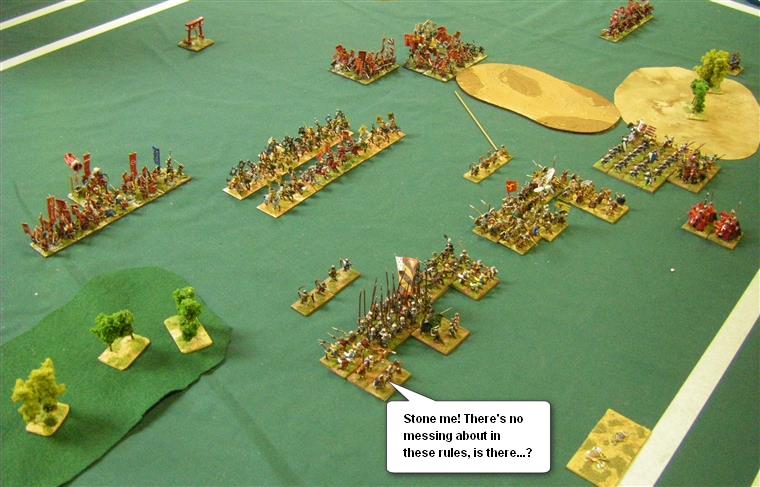
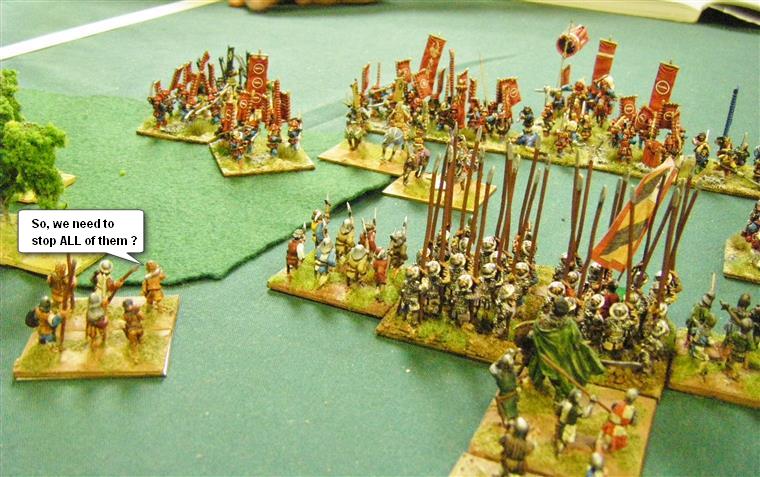
My army advanced, and so did the enemy - both sides had a few skirmishers, mine protecting the Poor pikemen in the middle of my line who in a ruleset where skirmishers shoot might as well have just carried a huge flag with "SHOOT ME - FREE POINTS HERE" instead of the faux-German one they in fact did have.
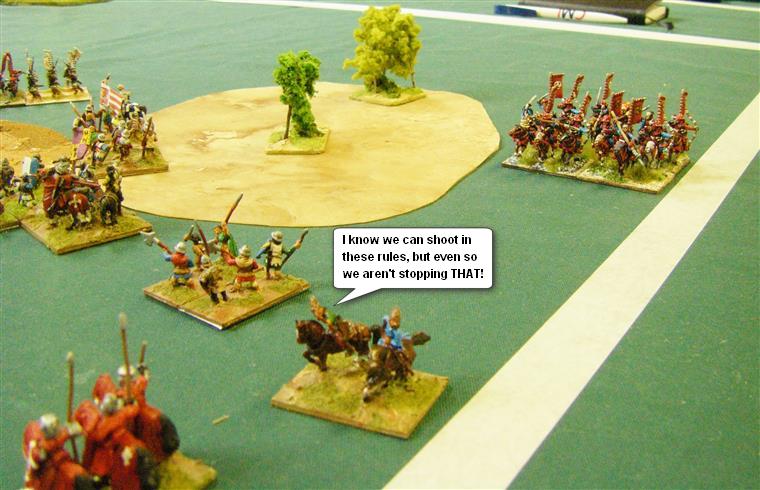
The Samurai were fairly unconventional - cavalry in the middle, and two strong wings of elite bowmen and halberdiers on either flank. A small raiding force of mounted Samurai were looking to sweep round my right flank, giving my crossbow-heavy command a lot to think about right from the start. My flank march however was due on on my left, where it would be able to cause great damage to the unprotected flank of the enemy right wing (can you see where this might go wrong yet...?)
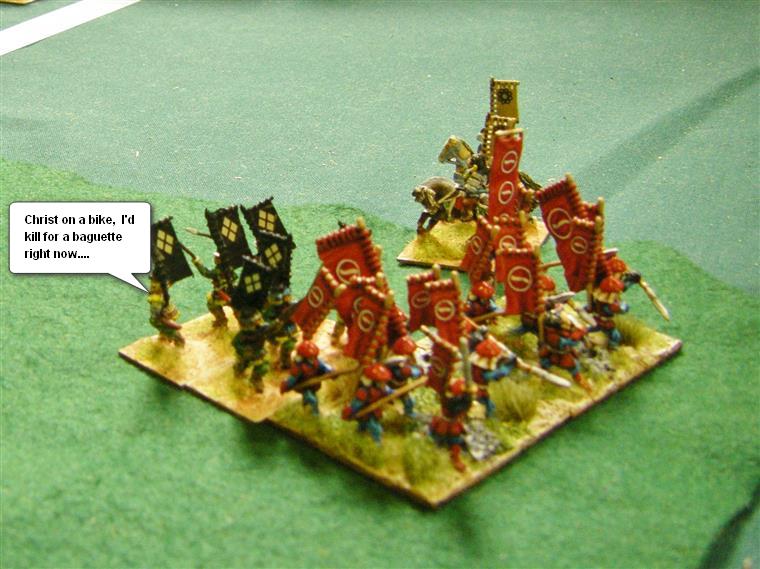
Samurai Bowmen
The Samurai Bowmen were elite for a reason�
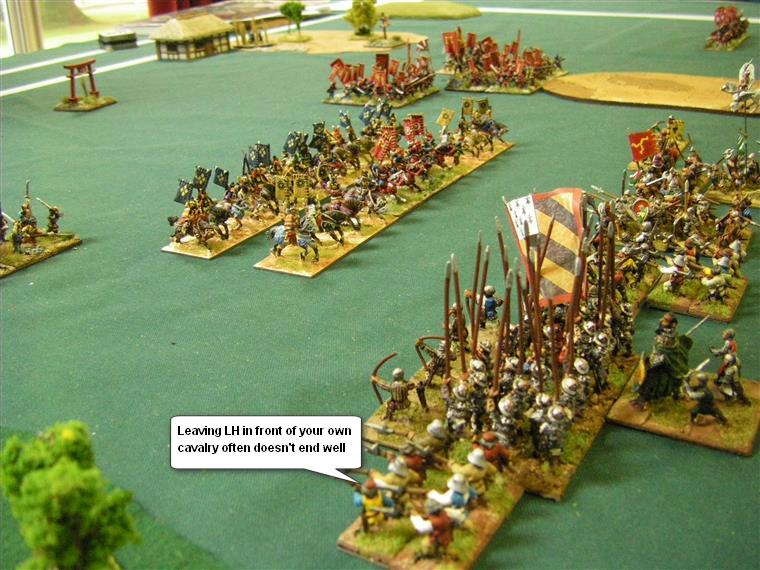
The Samurai also had a skin of LH on their cavalry, which my spearmen galloped eagerly towards, presumably forgetting the interpenetration rules in the process
L'Art de la Guerre hint - Rules Hint = mounted can go through LH. Yup. Apart from Camels and Elephants - duh, of course!
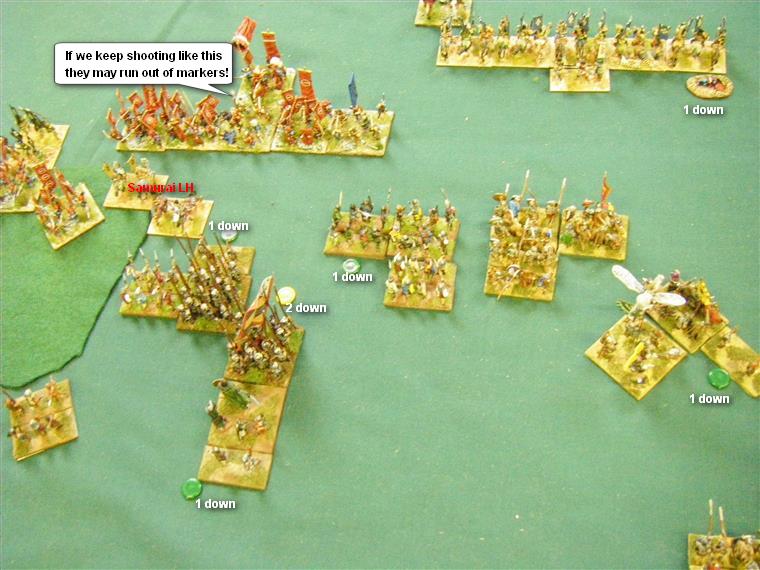
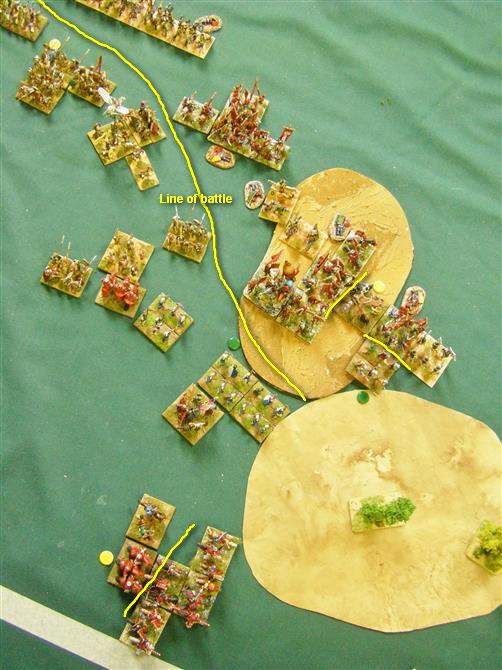
The two armies had started fairly close to each other, and both were advancing rapidly and soon the middle of the table was groaning under the weight of lead. My right flank was somewhat refused, mainly on account of it being a bit rubbish and so was not too keen to die, because my crossbowmen had already worked out that they would not really be able to stand up to the Samurai in a straight shooting fight, never mind if they closed to combat ranges. The Vikings were racing towards the enemy horse, hoping to flee them out of the way and open up the enemy centre.
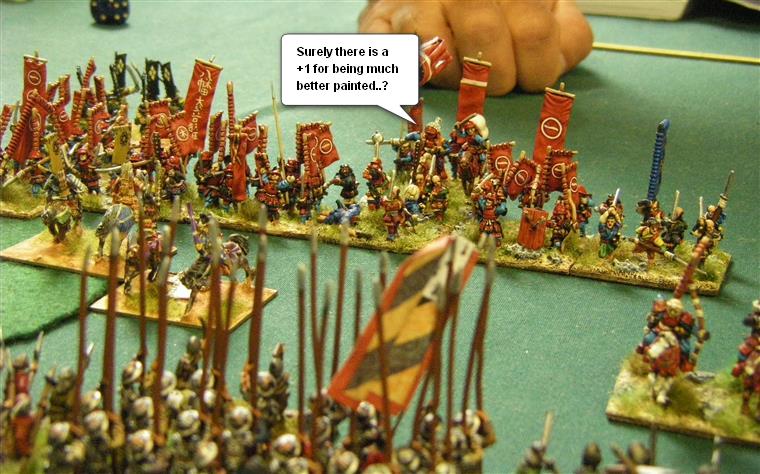
The Samurai were lovely, and based to take full advantage of the format of the ADLG basing conventions. Most of my troops were not as good, and were stuck inelegantly onto spacers, as if I was still pretending that one day I might play FoGAM again... .
L'Art de la Guerre hint - close formation foot are on 40x30, Medium foot on 40x40. This is essentially a multiple of DBx basing.
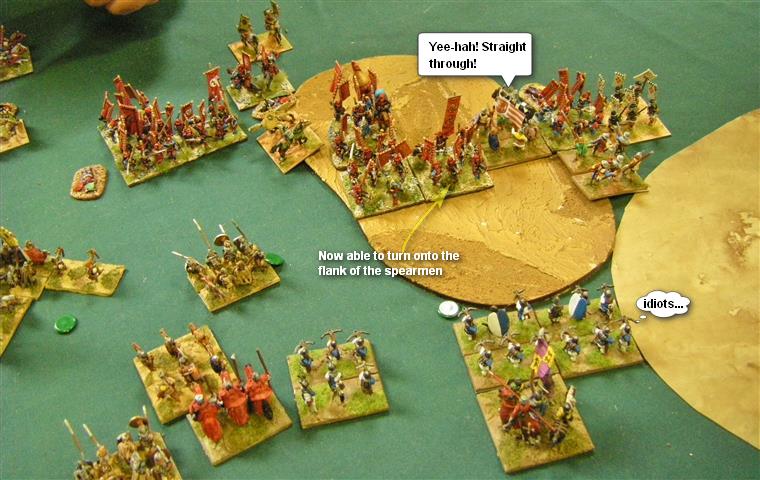
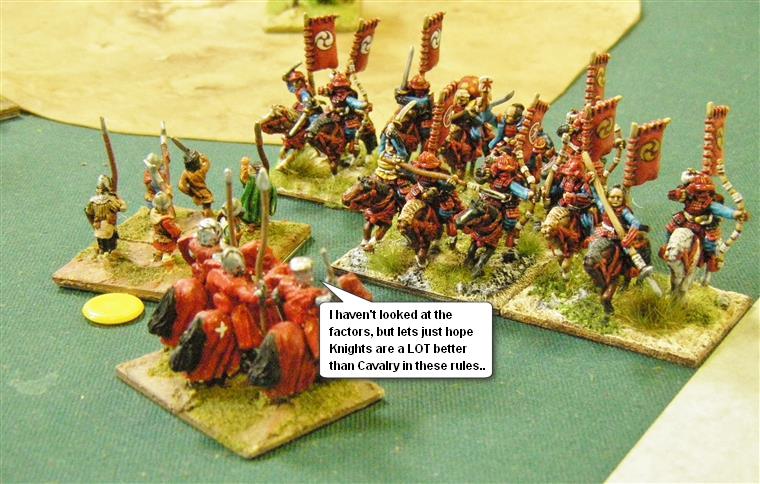
Stuff moves fast in ADLG, and the enemy outflanking force, blessed in part with decent pip dice but even more blessed with only one of my LH opposing them in their advance, were already on my baseline and poised to sneak round the back of the terrain. Fortunately the Swiss army knife that was my 3rd on table command had been completely unable to co-ordinate mounted Knights, skirmishing LH, foot spearmen and foot Crossbows and the Religious Order Knights were still rev-ing their engines on the baseline, perfectly positioned to face off the enemy cavalry.
Samurai vs Polearms
The battle between halberdiers and Samurai Swordsmen was coming close�
The Samurai LH had also presumably not remembered the interpenetration rules, and had been scattered to both sides of the table by the advancing Vikings - they now found themselves embarrassingly in front of their own infantry as my wall of spears and halberds descended on them. The wonderfully opaque "burst through" rules that no doubt ADLG shared with almost every other ancients set would surely be tested to the max here soon!
Aren't Wargamers funny sometimes? : Part 1
DBMM player : �ADLG? Some of the other DBMM players down at my club have tried it but they don�t like it - mainly because of the way elements can turn 180 degrees and charge � they think thats ridiculous and unrealistic�
Me: �But... isn�t that exactly how single element moves work in DBMM already though?�
DBMM player : �erm.... �
On the right, my Crossbowmen were already starting to come off worse against the Samurai bowmen, losing bases and cohesion. The enemy Ninja force (yes, seriously) were locked in hand to hand fighting with my own Medium Spearmen for the rights to outflank the opponents bow-armed infantry formation.
On the left however my infantry were making heavy going of getting to grips with the opposing foot, as their skirmishers had been forced to withdraw under Samurai bowfire leaving the soft, arrow-attractive underbelly of Poor Pikemen in the firing line, literally and figuratively, and as their general attempted to restore their morale the advance of the whole line stuttered to a halt. Viking Gods looked down on the battlefield from the very summit of Colin The Norwegian Huntsman's Norwegian fishbelly The Vikings had pushed a big hole in the enemy line and were now fanning out to both sides.
L'Art de la Guerre hint - you can try to rally a unit, or move - not both in the same turn. Deciding what to do is one of the most agonizing decisions in the game!
On the right it was still nip and tuck (in a sort of "my troops were being nipped in the bud and tucked up good and proper like) as both armies traded shots at long range and the two sets of Medium foot knocked big lumps out of each other on the edge of the terrain. This command was still performing 4 separate jobs with 5 types of troops - and finding this a little challenging to say the least
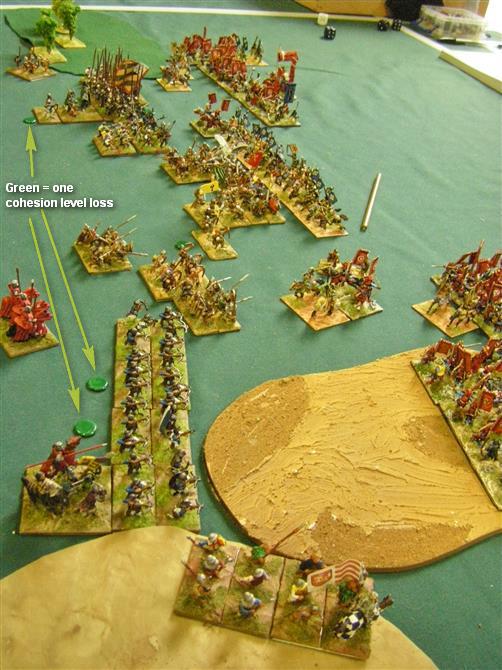
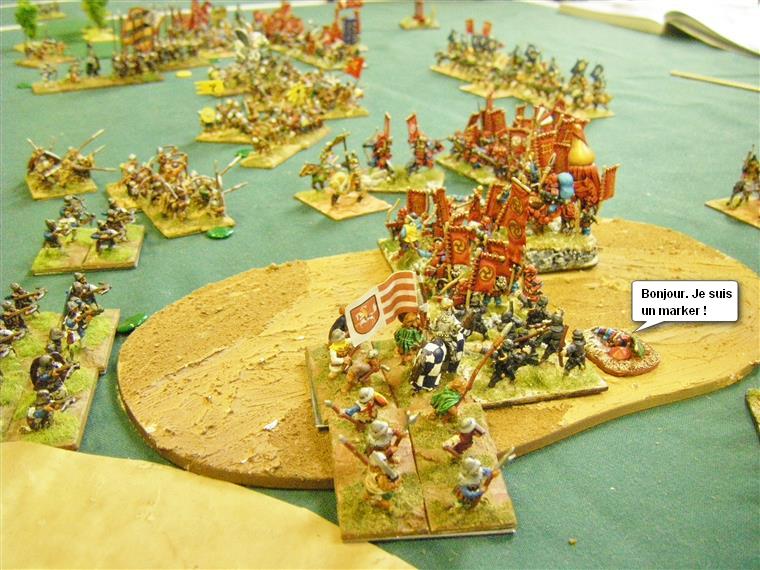
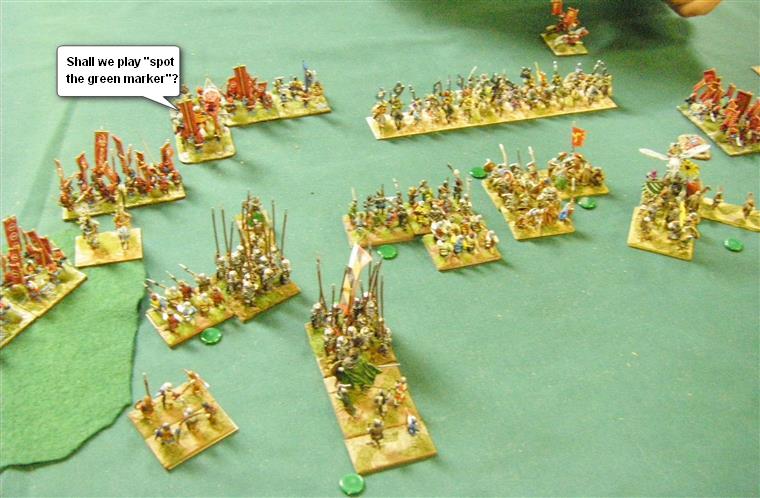
As the Vikings continued their advance, the Samurai nobles returned, their horses refreshed and well fed and their bows nicely rosined up. The hail of arrows that was unleashed was starting to scatter green markers (1-step cohesion losses) across the table like cherry tree blossom, but more green and plasticy, making the Japanese forces quite at home. The Vikings were considering what to do. Many of the warriors involved in the combat would soon be paying a visit to Valhallah, to be massaged by a team of heavenly virginial maidens, using scented oils made from Colin The Norwegian Huntsman's Swedish nipple clamps!
L'Art de la Guerre hint - your army breaks when it has as many losses as it started with bases - each lost unit counts as 2, each cohesion-damaged unit counts as one. A shooting hit on every single unit will therefore technically break your army� remember what I said earlier about rallying or just pressing on into combat..?
The Samurai horsemen were also now finally past the terrain on my right, and were bearing down on the desperate rearguard action that some of my forces were fortunately capable of mounting on account of not being actually deployed in a formation which would have allowed them to move to somewhere useful. They needed to hang on, or the baggage and then the game would be lost to the Japanese!
L'Art de la Guerre hint - baggage is worth 4 losses, or 6 in the 300 point game. That's quite a lot out of about 30-odd units.
The German army was bending round to protect its flank from a range of attacks, drawing the Vikings into the line in the process. So far the Crossbows were holding up surprisingly well but the risks are still huge of a grand collapse which would see the flank evaporate.
On the left, the Germans have regrouped somewhat, but the need to rally has slowed their advance and the eagle-eyed amongst you will have noticed that the German flank march has also yet to arrive �
The French Samurai are also slowly infiltrating their way through the forest - sneaking up on the unsuspecting German infantry and causing even more of them to peel off from the frontal attack to defend the flanks of their formation.
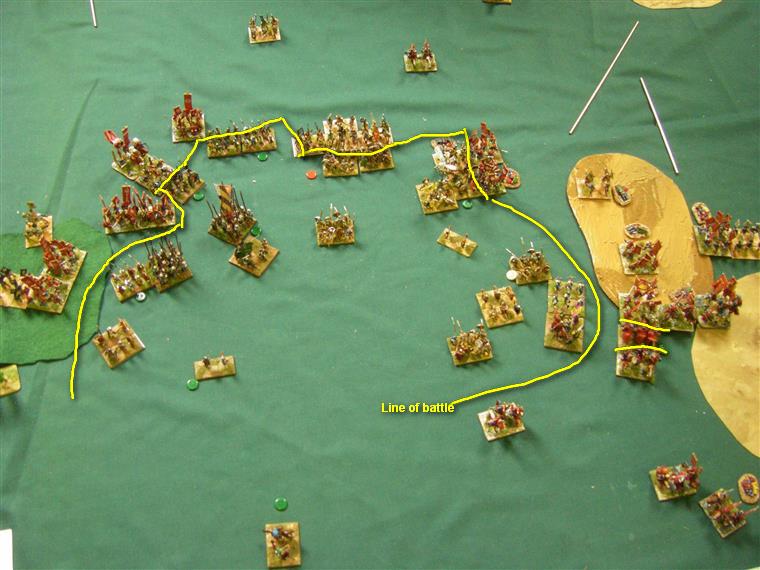
On the right, the Samurai bowmen sweep forwards and make short order of the Crossbows, and even as the Religious Order knights attempt to stem the flow of Japanese warriors the samurai horsemen finally achieve their outflanking manoeuvre and start to crash into the back of the German formations. Weakened by shooting, and even more enfeebled by the absence of their flank march, the Germans crumble to a defeat.
The Result is a 15:95 loss
Click here for the report of the next game in this competition, or read on for the post match summaries from the Generals involved, as well as another episode of legendary expert analysis from Hannibal
Post Match Summary from the Feudal German Commander
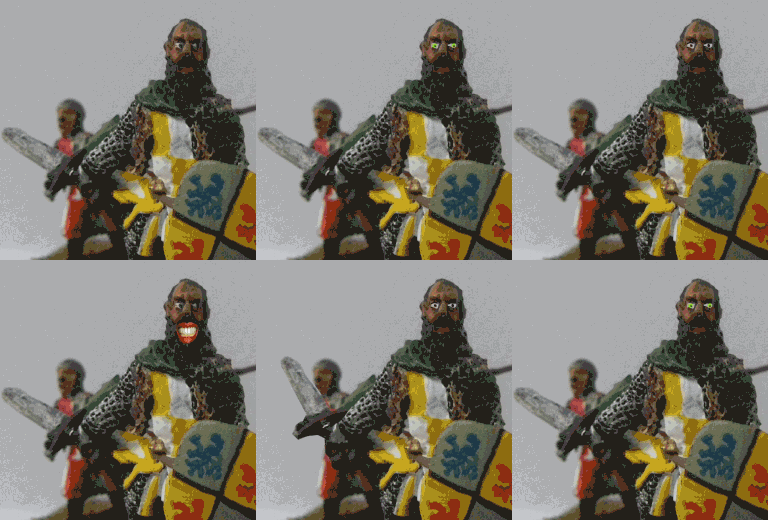 Arr! What a wonderful introduction to international competitive battle fighting this was! As we say in Germany, "All beginnings are hard" and this battle truly lived up to that truth. Even so, if my flank march had arrived then the game may have seen a different outcome but with one hand tied behind my back I feel that my sausage of success was inevitably going to be drowned in the bitter tide of the sauerkraut of defeat.
Even so, I felt that I had learnt something from this defeat, and whilst victory is not something that is usually delayed, in this case as we say in Germany, "The devil's favourite piece of furniture is the long bench", and that same long bench is exactly where my next success currently is asleep, digesting the lessons of this game and putting them to good use in the plans for next time.
I already know that I now must protect my Poor pikemen from shooting at all costs, and that the game is often over in less than half a dozen turns in total so that "looks easy to get" flank march is maybe not quite so effective given that it probably has to arrive by game turn 3 in order to have a chance to be effective.
Hopefully next time it will be a case of improvement through technology and experience - as we say in Germany, "Starting is easy, persistence is an art". Let's hope this one goes all the way to penalties.
Hannibal's Post Match Analysis
 This battle was not a learning experience, it was surely nothing but an index and obscure prologue to the history of lust and foul thoughts which has plagued your gaming career in all your incompetent iterations throughout the ages.
Positive signs and rules learnings? I say away with those giglets dear sir, and focus again on the gross inadequacies of an army which let its flank be turned in its' entirety, with enemy horsemen plundering the back pockets of your very frontest line troopers by the close of the day. That is not a function of the rules, that is a function of basic military competence going missing without orders.
Looking at the mistakes made, for someone who has allegedly played before, even with this same army, you appear to be immune to the absorption of experience and it's transformation into practice and leaning. I look upon you and all I see is a whoreson loggerhead, surely you were born to do me shame and naught else?
The inadequacies of your game are a pox damn you, you muddy rascal, is that all the comfort you bring me? Let us hurry forth to the next game
Click here for the report of the next game in this competition
You can also comment, "like" or give feedback on these reports on either the Madaxeman.com Facebook Page or the Madaxeman.com Blogger Site.
Game 1 Feudal German vs Samurai
Game 2 Feudal German vs Feudal Irish
Game 3 Feudal German vs Later Crusader
Game 4 Feudal German vs Feudal English
Game 5 Feudal German vs Vikings
Battle Reports - Pageloads to date.View My Stats for My Battle Report Pages


