1-day Saga in Central London 2014
Vikings vs Jomsvikings
Game 3 Vikings vs Carolingian Franks
Following a previously rather unsuccesful attempt to take on a new rulesystem with no practice or pre-planning, I yet again did the same thing at the second Central London Saga event. THis time the main difference was that it was FA Cup Saturday, making Arsenal-loving Central London a great place to be later on in the evening - but like the first event I had again brought Vikings, and again had played almost no other games between then and now. My army was hardly original - this time I ditched all of the levy, upgraded my Warlord to someone quite cool and took a mix of Bondi and an 8-man Varangian Hearthguard unit in my list - which could be changed a bit between games. The first game was the one where both sides need to escort some baggage off table...
Battle Board Analysis
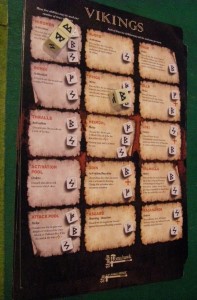
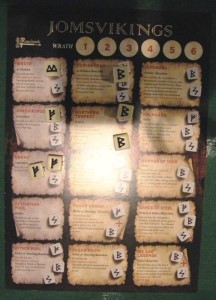
I actually don't own the Jomsviking board, but here it is in all it's glory.
I really had no idea what was happening here, but it seemed as if the the Jomsvikings had lots of abilities that basically meant some of my troops would be unable to move or would suffer base losses unless I let them build up their Wrath (whatever that was).
The main thing they started with was called Northern Tempest, which used two "B" dice and allowed them to kill off three of my models or allow their Wrath to go up by two.
Added to this was Punishment - allowing them to cancel one of my activations or also allowing Wrather to rise by two.
Given the unpalatable alternatives - especially in a game where I needed to move - I decided to let them build up Wrath.
This was possibly a bad move, as this analysis of how they work might explain.
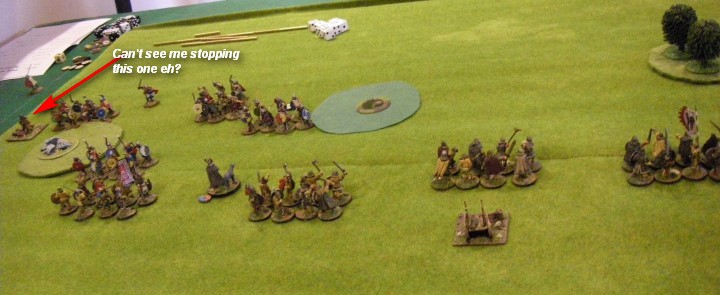
With the enemy having deployed heavily weighted to one side of the table, and their wagon over there too and already looking unstoppable my options were initially about getting my Warriors and Hearthguard (and wagons) to move forwards, and then saving a load of dice to use for beating off enemy attacks as I intended to try a game of attrition against slightly better quality Viking forces across the table and get my own wagon off to force a technical draw.
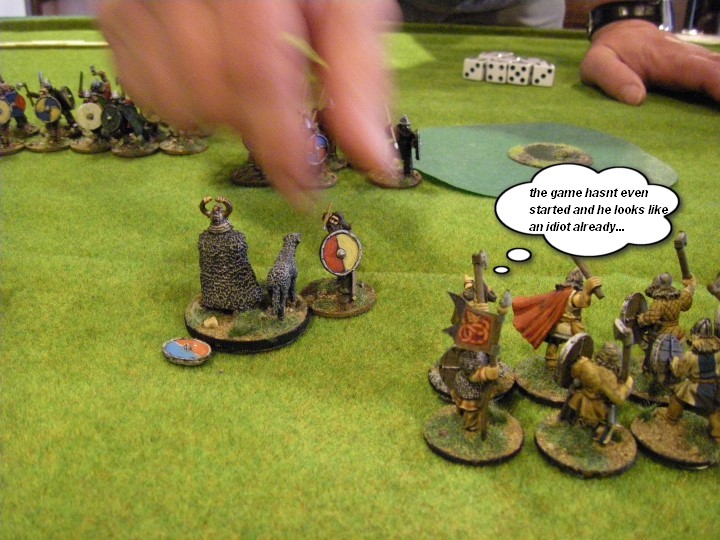
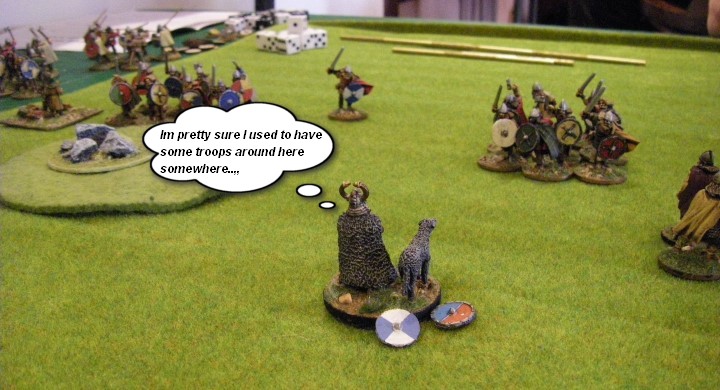
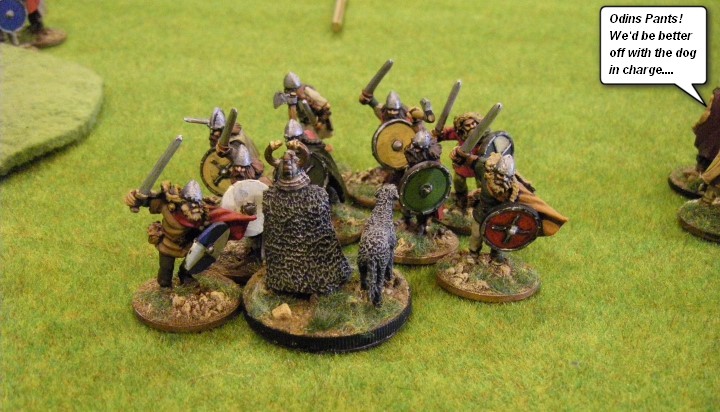
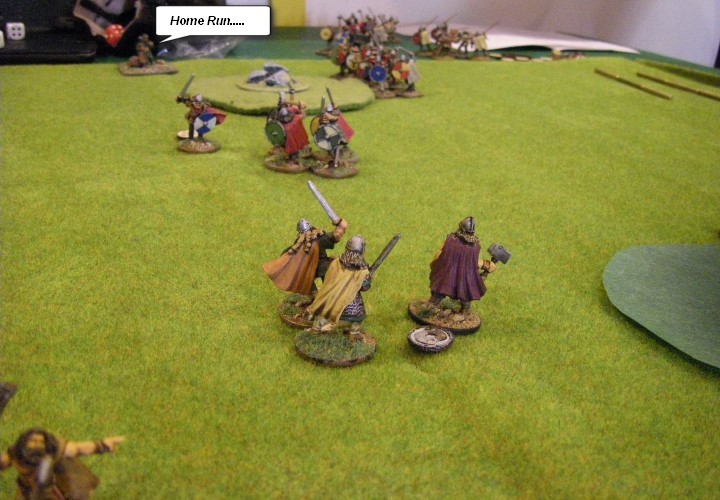
Unfortunately I started the game badly by deplying my Warlord in a position in which he could be attacked by the enemy in turn 1. Many of the warriors involved in the combat would soon be paying a visit to Valhallah, to be massaged by a team of heavenly virginial maidens, using scented oils made from Arshram the Turophobic's hammer-tossed Codpiece! Immediately things were looking bad - however the Warlord was luckily rather good (Harald Hardrada) and he just about fought off the attackers.
With the Jomsvikings attack rather aborted, my own Vikings started to think what they might be able to do - and this was very clearly all about pushing one of the wagons off table on the right hand side, with an almost American-football-like blocking attempt to keep the Jomsvikings from rolling my men up from the left whilst the wagons hopefully rushed forwards.
Battle Board Analysis
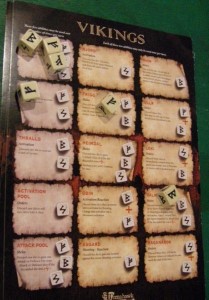
My first proper dice roll - and an uninspiring mix comprised entirely of B's and F's.
Most of them sat in the box that allowed me to move my Hirdmen and the wagon forwards which after all was the point of the scenario.
The others were used for some fighting-related stuff which might take place later in the game, with a B Valhalla and a B Frigg (to rescue the chaps from tiredness)
It wasn't big or clever, but with a need to move, and no interesting Z dice there was not too much else to do.
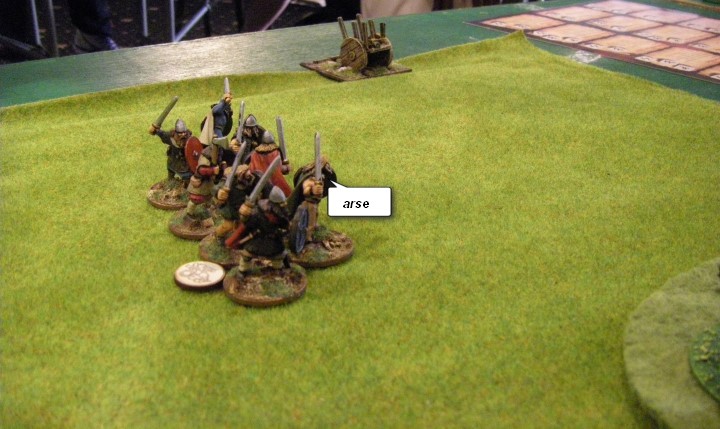
With these uninspiring dice the Vikings started off, aiming to block and tackle their way towards getting the wagon off the opposite side of the boardWith the Warlord still somewhat exposed, the Vikings initial efforts were focused on going toe to toe with the Jomsviking Warriors facing them in the centre - a mutual wipeout here would protect the Warlord, and take a lot of the Jomsvikings who were nearest the baggage wagon out of the game as a viable force.
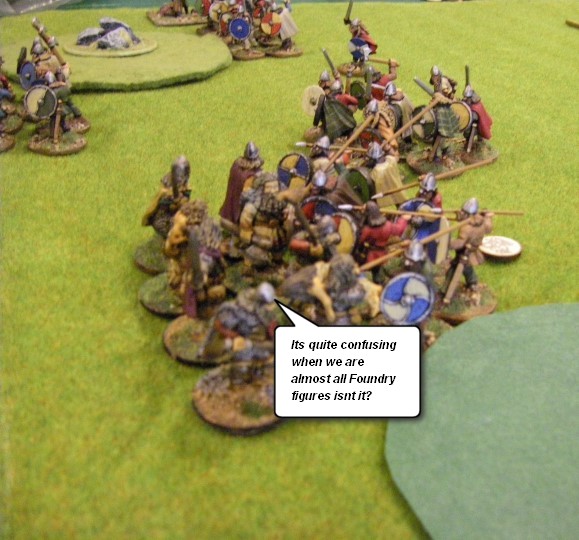
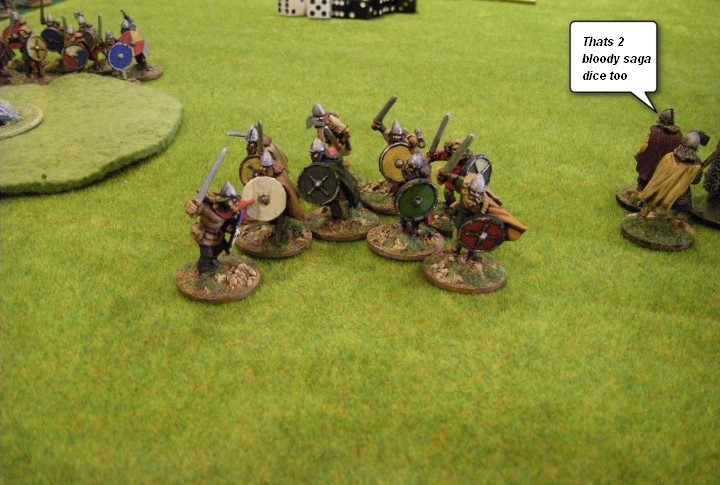
The fighting was fierce and confusing, mostly as both sides were using identical figures from the Foundry range. Viking Gods looked down on the battlefield from the very summit of Olaf the Goat-Impregnator's clumsy footed furniture-assembling Allen key! . The aftermath was a feast for crows indeed, with a mutual wipeout on the left and only Harald Hardrada and some rather shellshocked enemy remnants left in the middle of the field.
Quickly overcoming their surprise at still being alive and so close to a 2-fatigure Warlord, the Jomsvikings charged home gladly and with wild abandon.
In an entirely unsurprising development Harald died under a welter of blades and axes. Ooops!
Battle Board Analysis
Being restricted to just three dice made the battle board choices rather easy.
Rolling 3 B's made it even easier
Needing to move the wagon and survive melee were the only things left to try and achieve.
Unsurprisingly this left me choosing options that allowed the wagon and the Huscarls to move.
The third helpful B dice was devoted to a B wipe-out-fatigue dice to wipe out a fatigue from a double movement.
The entire table was now almost totally free of troops, but at least the wagon was some way from enemy warriors. Unfortunately with amost no troops left it was also proving rather difficult to move. The Vikings were down to a handful (3) Hearthguard but the Jomsvikings were also rather short of troops - and their decent units were a long way away
Battle Board Analysis
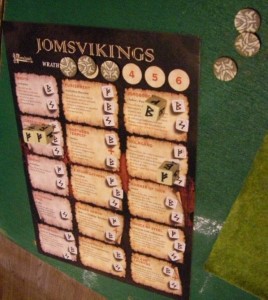
Jomsborg! - The Jomsvikings were now starting to use Wrath to move my figures away from the battlefield - rather unfair really!
This was making it rather hard for me to move across the table and defend the wagon
Fortunately the Wagon was immune to this ability, so it at least could still keep going...
But, with all of the activation points being spent on the wagon the rest of the Viking warriors were now retreating into the corners of the board at the behest of the Jomsvikings
Battle Board Analysis
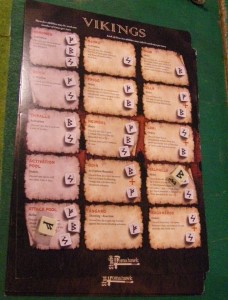
This was in the form of a Kamikaze Valhalla move, and an extra attack pool dice.
The vague idea was to try and cause carnage on at least one more of the reamaining tiny enemy units and take at least one more out, restricting the number of saga dice available to the Jomsvikings who's only decent sized unit was a long way from the wagon.
If I could slow them down in this way, perhaps the wagon could get off table without needing to fight?
Maybe not the cleverest strategy, but certainly the most "Viking"
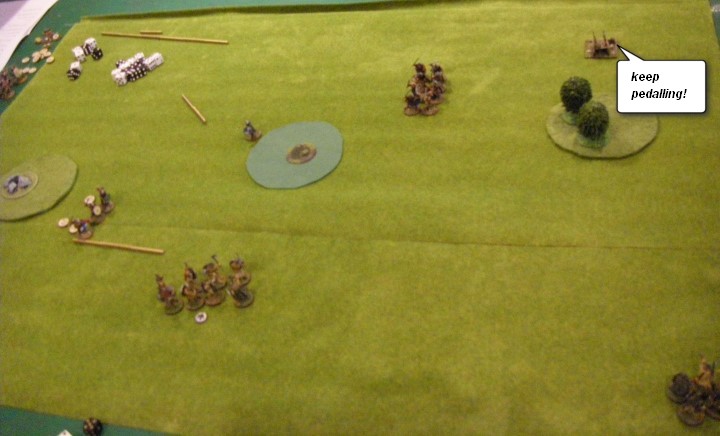
But the fighting was indecisive, and with one obvious thing needing doing the Jomsvikings had allocated all of their dice to the task and jomped all the way across the field of carnage. they were now within sniffing distance of the baggage wagon, which continued to move in a stately fashion entirely without visible means of propulsion across the table towards at least some points being scored
Battle Board Analysis
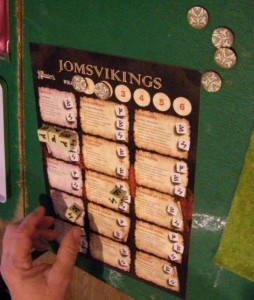
They continued to move some of my units around just to show that they could do this, and also raced their men across the table towards the wagon
At this stage this was veey much what mattered. In this scenario relatively few abilities could be used against it making their advantage in dice rather pointless at this stage in the game
The rather handy A Storm Gathers trick was being deployed too, allowing them to shed fatigure from their fast-moving unit or pick up more Wrath.
The Orders trick also allowed them to spend wrath on additional activation dice, thus nullifying my intended valhalla charge in the previous rounds anyway
The Jomsvikings had charged in...and the wagon beat them off! It had all come down to this combat - and finally, despite being made of wood, having not even a cow to it's name, and not actually being part of my army, the wagon had exceeded the abilities of the rest of my army and thrown back it's Jomsviking attackers and then escaped from the field of play!
The Result is a defeat for the Vikings, but with some honour still intact.
Click here for the report of the next game in this competition, or read on for the post match summaries from the Generals involved, as well as another episode of legendary expert analysis from Hannibal
Post Match Summary from the Viking Commander
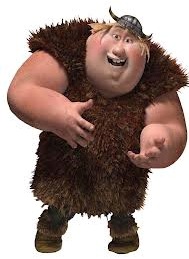
As well as ticking that particular transport-related box I must say that I was quite proud of my brave lads for fighting on so manfully without me for so much of this game. Demonstrating the sort of initiative that many a great leader would wish to see in his junior officers, my men continued with some aplomb here long after my unwise and early departure
The Jomsvikings are also a mythical force, of dubious historical accuraccy and even though this is an admittedly cinematic game, I must admit that discovering their rather effusive range of abilities came as a mighty shock. If only I wasn't too tight to actually buy the other army books perhaps I would have anticipated this better, but where would have been the fun in that eh?
For a mead and pretzels game like Saga I must admit that this outcome, whilst traumatic on many levels is not really the Ragnarok of the world, leaving as it does me poised nicely and ready to start drinking just as the pub actually opens. Hoorah!
Hannibal's Post Match Analysis
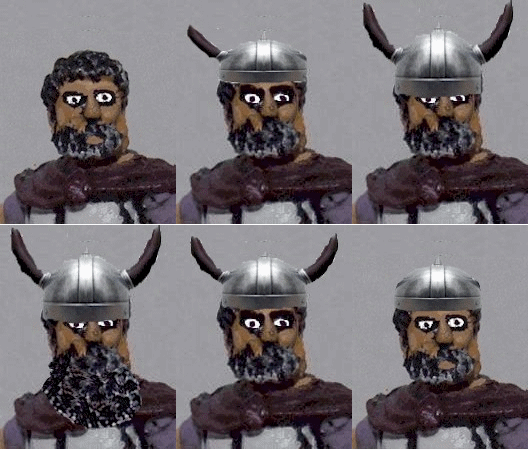 Yet again your hopeless lack of planning and preparation and your casual attitude towards the capabilities of your enemies leaves you bereft - in this case not only of points and dignity, but also of many of your limbs and extremities as you evidenced one of the quickest and most spectacular leadership failures ever seen on these much-blighted pages of shame.
You must have stood by the pantry shelves discussing cooking with your mother more often than you've been to battles, because researching your opponents is an act of simplicity - just ask your opponent to see and explain their battle board for starters, borrow some of the books from a clubmate, or even go online to one of the many forums and internet pages bursting with information..... or just do nothing and get surprised and spanked. What a choice ...
The most important thing about Jomsvikings is simple - do not let them build up Wrath in the first 3-4 turns of the game, even if it loses you figures and causes other problems the alternative - as you found - is that all types of ludicrous nonsense can be poured on you from a great height.
This is an easy lesson to learn and an easy one to find. Only a simpleton could miss it - and in it's execution, all you need to do is do nothing and let the opponent do as they wish. How simple was that... and how suited to your normal style of play as well? But you failed. Lets see if you fail again in the next game
Click here for the report of the next game in this competition
You can also comment, "like" or give feedback on these reports on either the Madaxeman.com Facebook Page or the Madaxeman.com Blogger Site.
Game 3 Vikings vs Carolingian Franks
Viking & Saga Stuff
Order on Amazon here
Gripping Beast's SAGA Reports Pageloads to date.
View My Stats for My Gripping Beast's SAGA Pages
